So diorama’s are showing up all over the net. Lots of people recreating the “Ark.” Which is cool, however I have no intentions of creating the G1 variation of colors, but rather something a bit more realistic. Which brings me to.. What you will need…
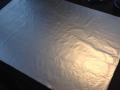
1) Aluminum Foil (I picked up the biggest sheet I could find.)
2) Foam / Foam core & cardboard. (Try to make sure the foam is smooth on one side. Otherwise any indentions will lead to the foil showing imperfections or different textures.) You might be able to use some other materials, and even just Foam Board. I used this method as I had it in my garage.
3) Elmers glue (Other glues work but be careful you don’t melt the foam!)
4) Xacto Knife or a sharp blade.
5) Sharpie
6) Measuring Ruler, or something straight (ruler is nice as you can measure your shapes!)
You will need to decide a few things.
– Do you want your diorama to be shiny or more flat. Aluminum foil has two sides that can give two distinct looks. I did both, and the results were really interesting. I used the shiny one for my floor and the other two as the flatter color.
– Type of glue. I used Elmers glue, but there are other glues that will work probably better. Stronger bonds, and even hold better such as a contact cement. Just make sure it doesn’t melt your foam when gluing! Its also important to make sure you get a nice even amount of glue otherwise the foil may bubble.
On to the steps!
1) Glue your cardboard and foam together (Optional) if you need extra support. Elmers glue does a REALLY good job, between cardboard an foam.
2) Let this dry for 15-20 minutes (doesn’t take long…) let it sit longer if you really want a good bond.
3) Zig zag and cross zig zag the foam with a nice covering of glue. (Other glues you can brush on which is nice because you can get a nice covering with no missing areas.) Elmer glue you can add a little bit of water to it but have to wait longer for it to dry. And this sometimes weakens it.
4) Pick which side of aluminum foil you are going with. Make sure you pull long enough sheet to wrap the edges.
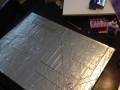
5) Start form one corner to the next and gently press and smooth out the bubbles. (Don’t use anything sharp!)
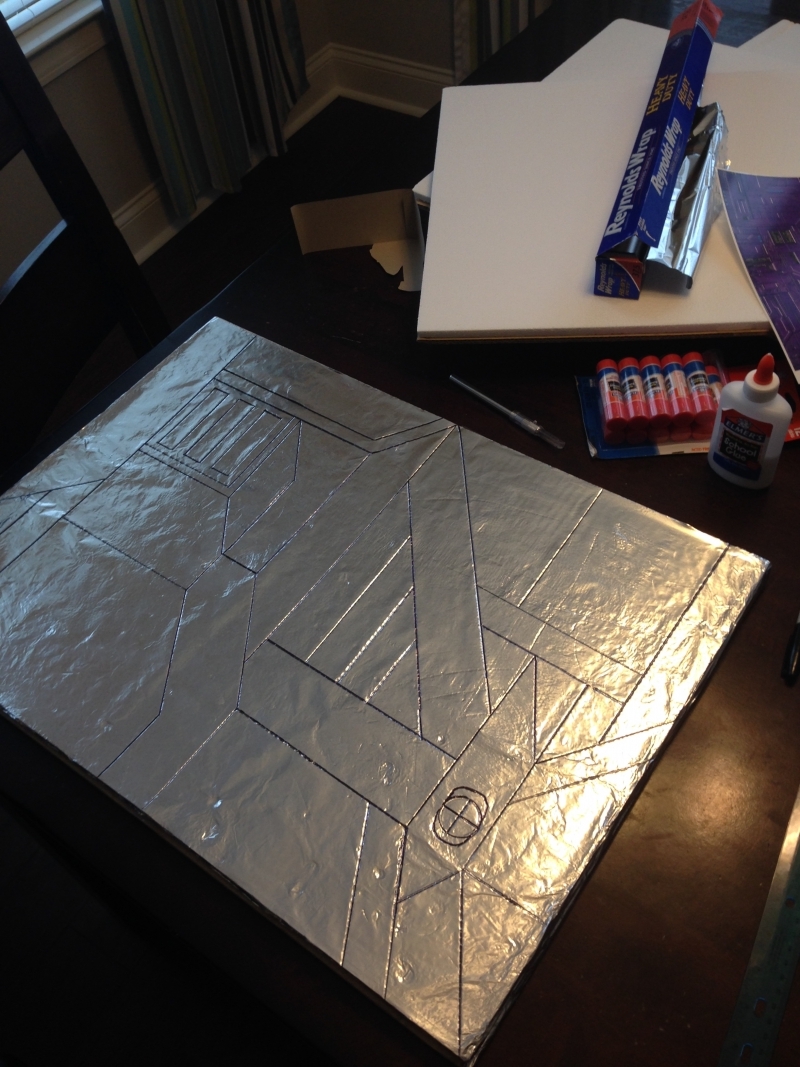
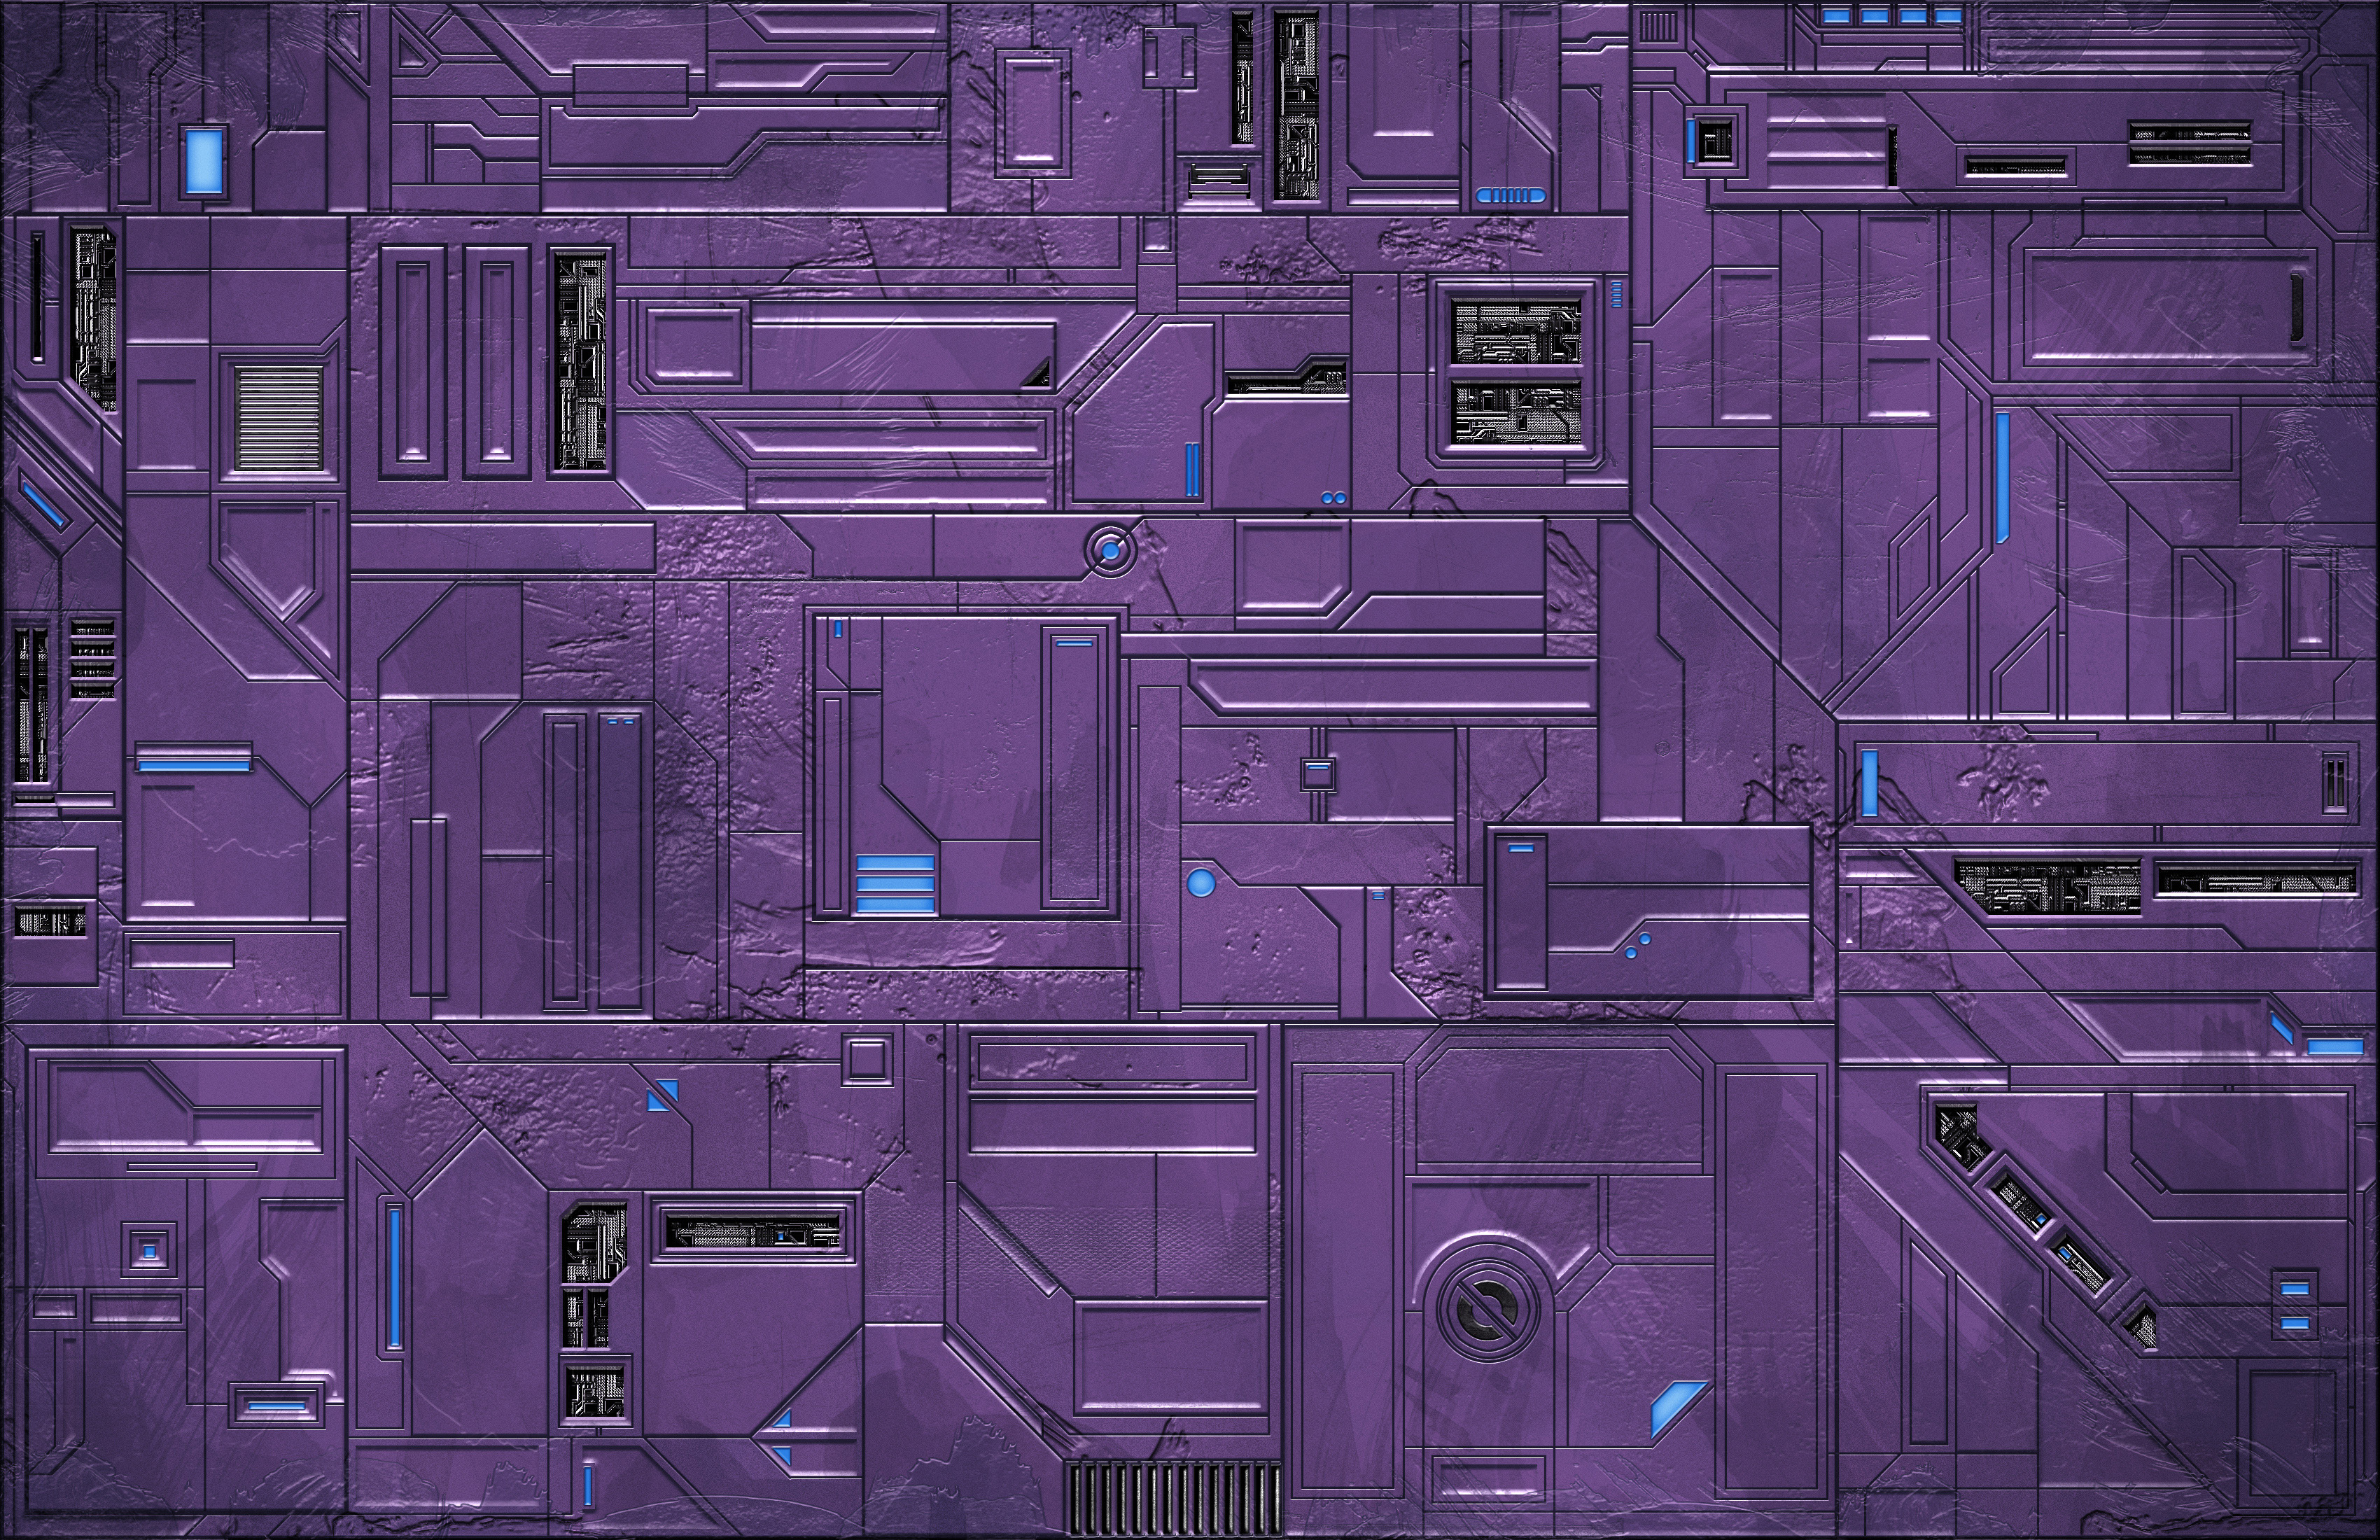
6) Lines… This part feel free to be artistic. Make horizontal, vertical, and angle lines. Connecting irregular shapes… Remember in the Transformers universe everything technically transforms which may be irregular or connect in seemingly random methods. Try and make it is irregular as possible. I did use somewhat of a “guide” to get an idea of what to do artistically. You can even add circles, triangles, and other various shapes using coasters or maybe a coke can for larger circles.
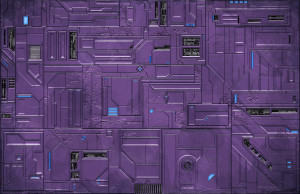
Source: tformers.com (Mandingo Rex)
Finally –
Tape the edges (extra down on the back or glue.) I am going to use foil tape on the top and bottom to make sure it doesn’t rip there also. If you glued it really good it shouldn’t happen, but can still “smudge or bend…”
I would suggest if this is fitting within your display case that you cut the foam to size before starting. This will save you from having to cut the aluminum and resizing the whole thing down to fit later.
Part II of this tutorial will include painting and adding additional details. I need to do some testing before I start on this part as I am not sure how certain paints will work with the aluminum just yet. Part II is now complete click the link to see the results. I have more plans to do different variations in the near future.
Total project here for this was about 2 hours to complete. Which is A LOT less time than having to do some serious painting and such.
Material costs: (About) $25.
– Foam $1.50 – $5 a piece (Foam board is the least here…)
– Glue $2.00 – $5.00 (Depending on the type of glue you use…)
– Aluminum Foil $5.00 (Might be able to get this on sale. This also varies depending on the size.)
– Sharpie $1.50 or more for a pack.


